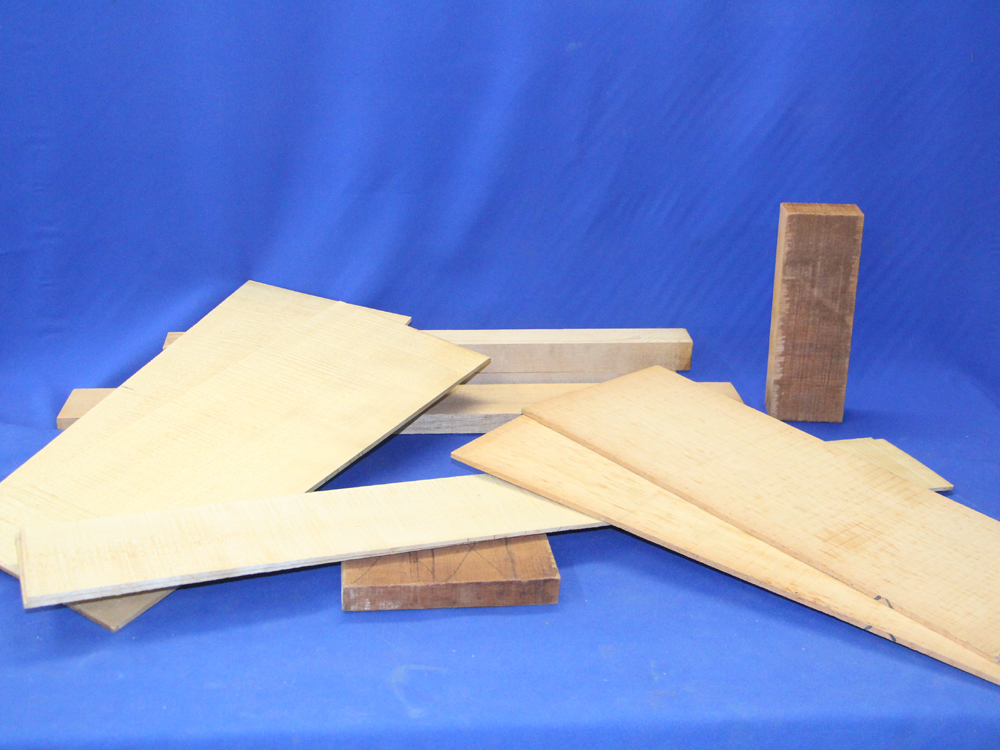
 ( 001 ) 31-March-2014
Starting a new guitar I have laid out some of the materials.
for Mark R.
 ( 001 ) 31-March-2014
Starting a new guitar I have laid out some of the materials.
 ( 002 ) 31-March-2014
A beautiful set of flamed maple for the body
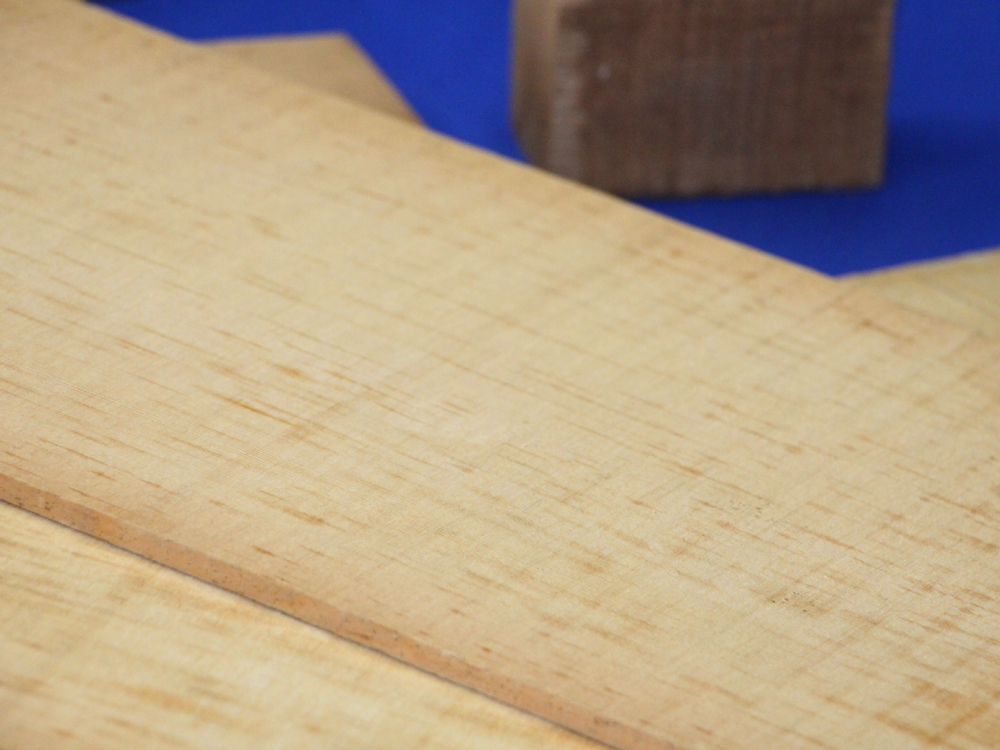 ( 003 ) 31-March-2014
And Sitka Spruce for the top.
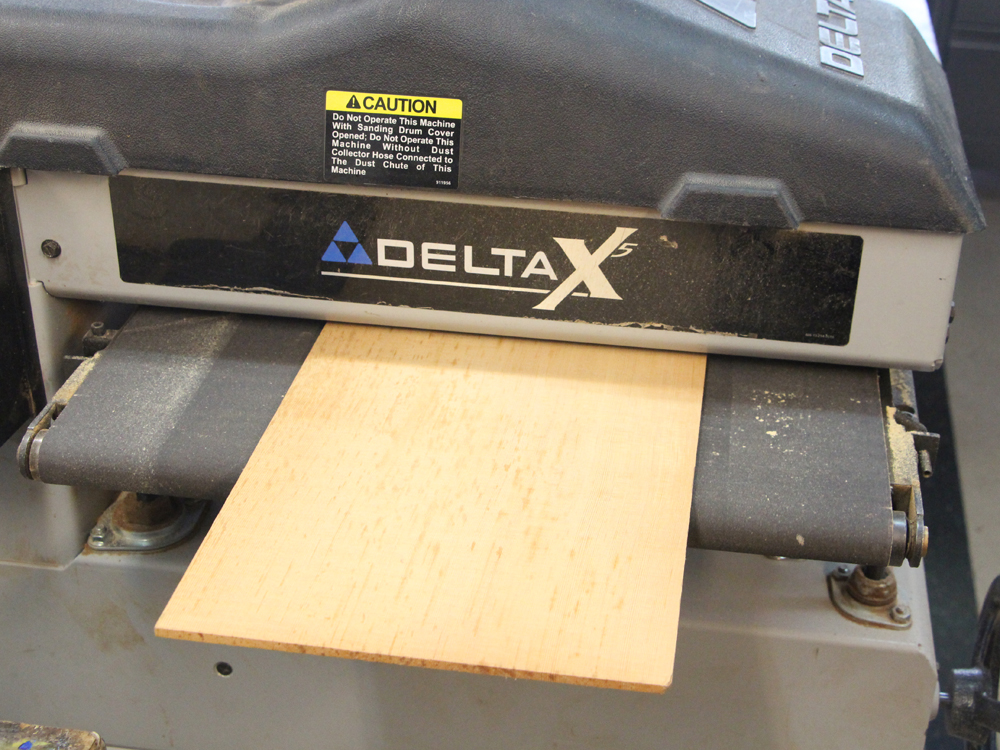 ( 004 ) 31-March-2014
I start by sanding the Sitka Spruce pieces to about 150 mils thickness.
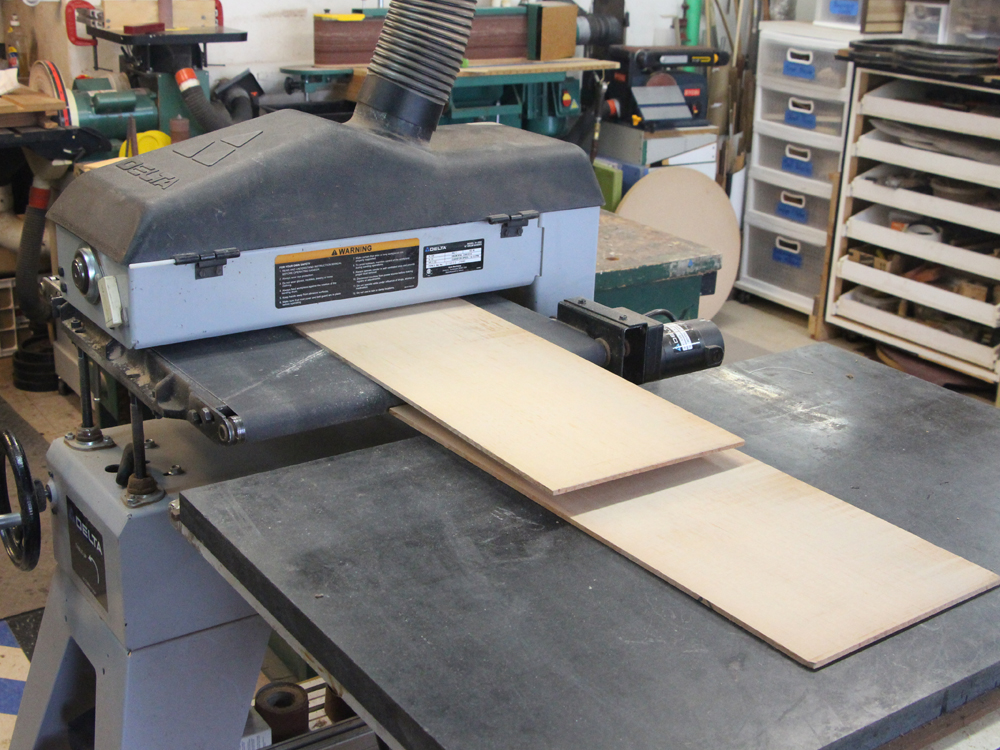 ( 005 ) 31-March-2014
My drum sander gently removes about 5 mil of material on each pass.
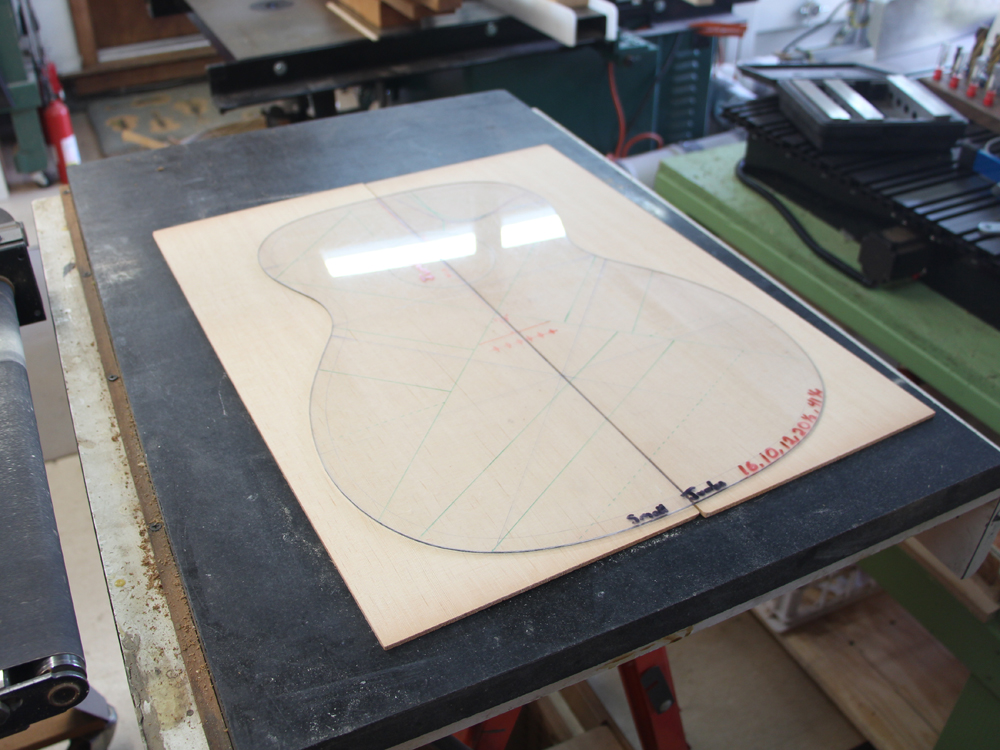 ( 006 ) 31-March-2014
Here I have laid out the top pieces with an outline template.
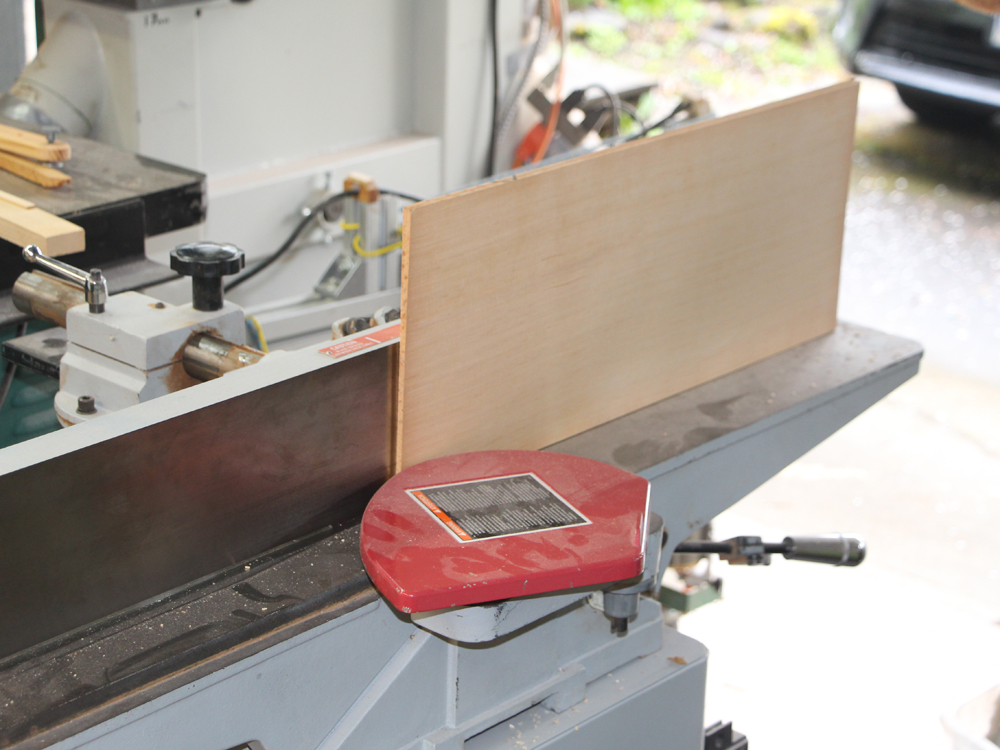 ( 007 ) 31-March-2014
To glue the two halves of the top together I use the jointer to create a straight edge on each piece.
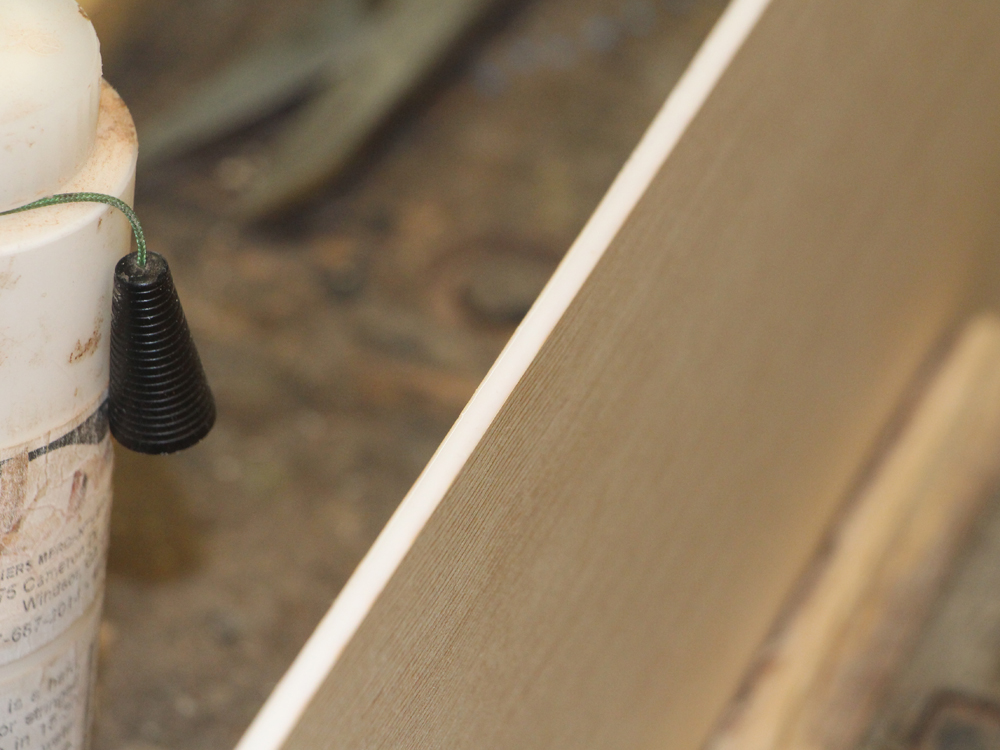 ( 008 ) 31-March-2014
A thin bead of glue is applied to the edge.
 ( 009 ) 31-March-2014
And the two halves get pressed together in this jointing tool. The cross bars keep the pieces flat while the wedges push the pieces together.
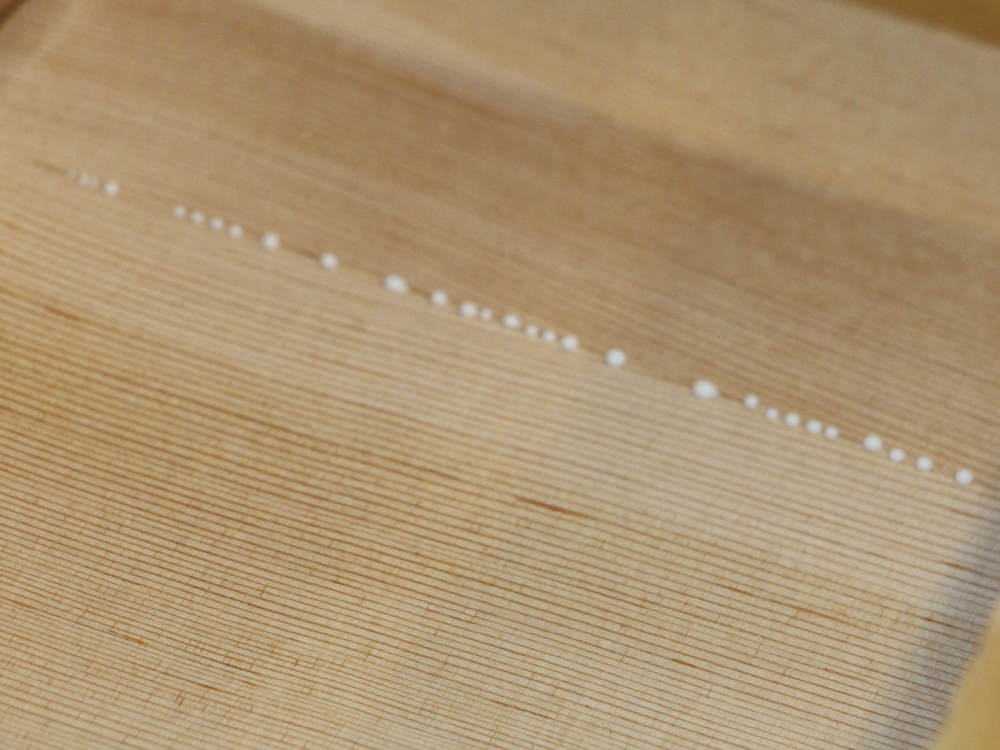 ( 010 ) 31-March-2014
A string of pearls squeeze out, perfect.
 ( 011 ) 31-March-2014
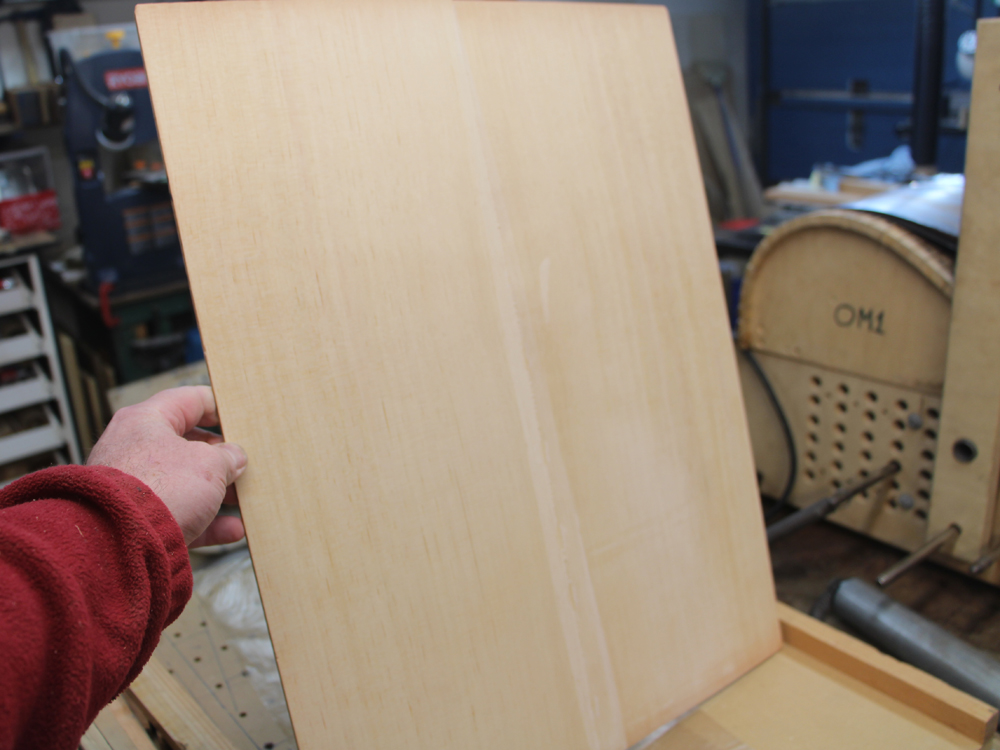
After the glue sets up overnight the joined sheet comes out of the tool.
 ( 012 ) 31-March-2014
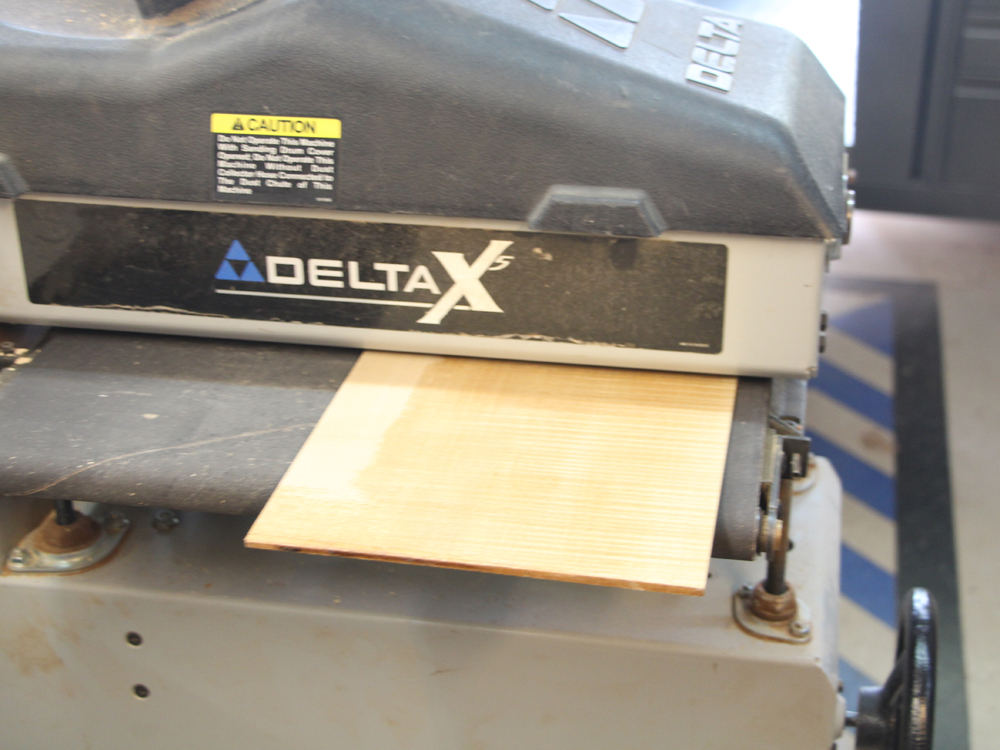
The back pieces also get sanded in the drum sander.
 ( 013 ) 31-March-2014
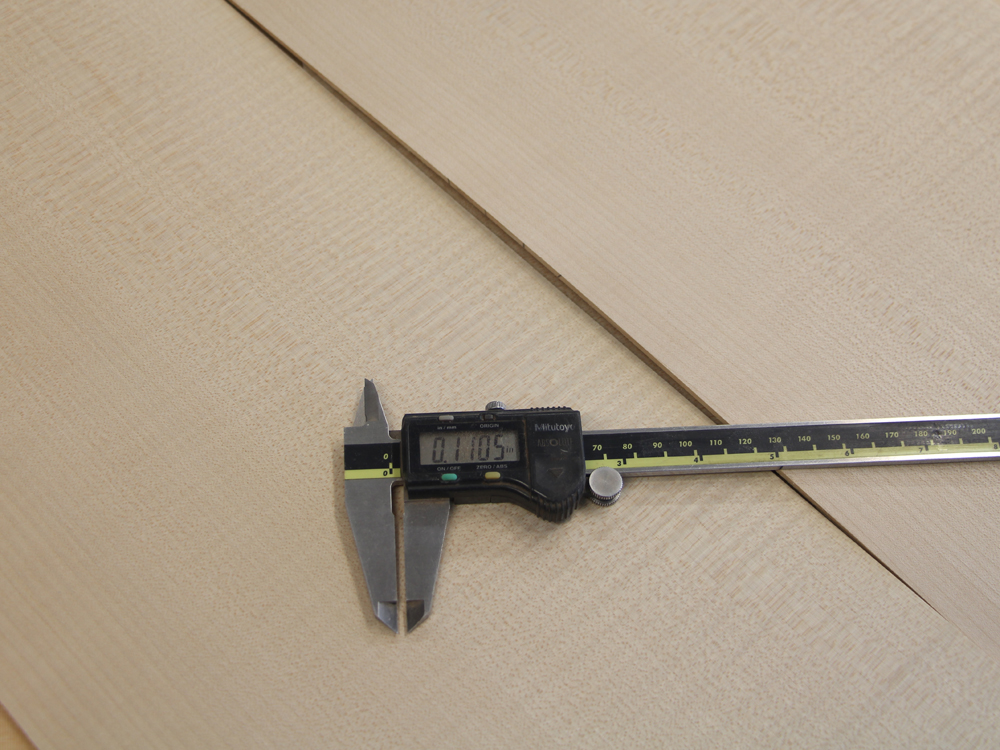
These end up at about 110 mil thick.
 ( 014 ) 31-March-2014
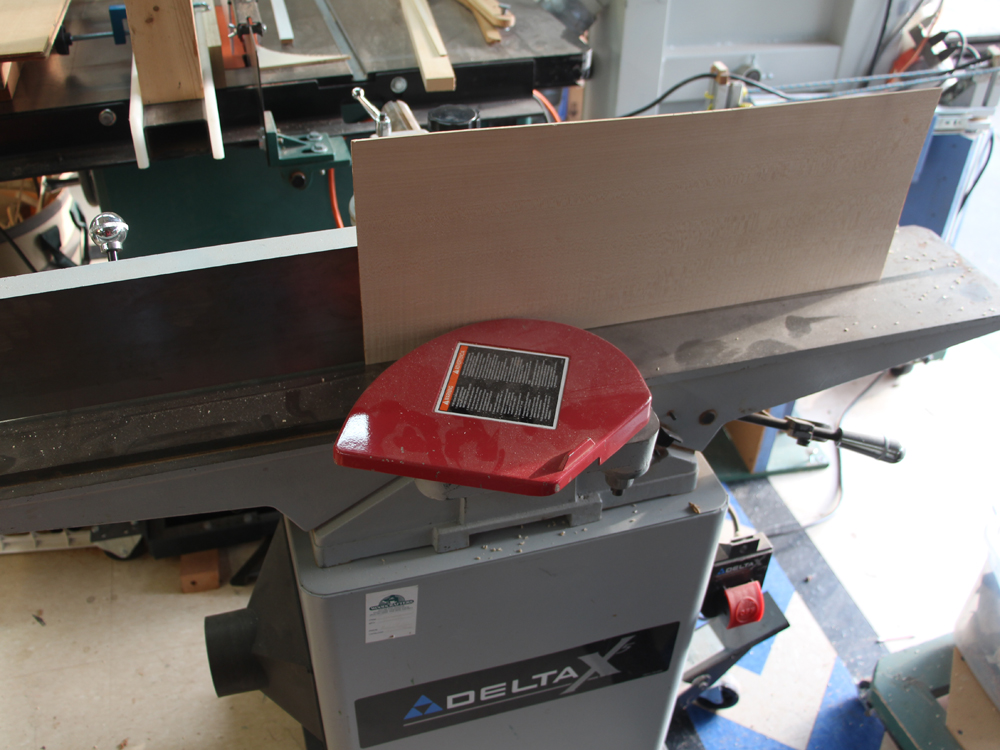
The edges are prepared in the jointer.
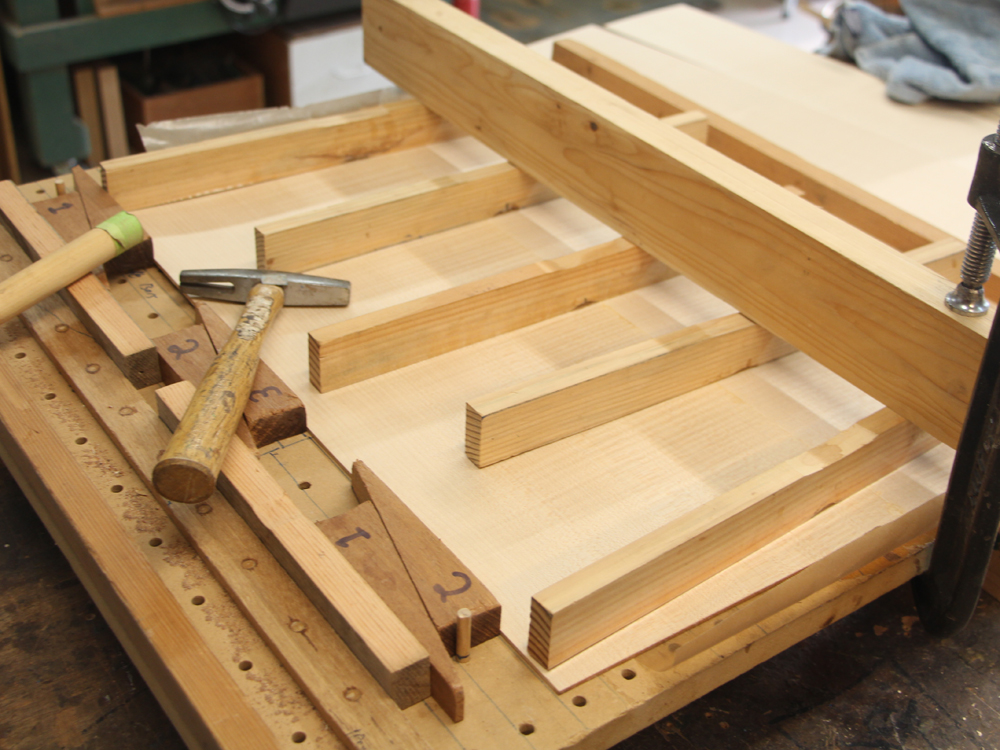 ( 015 ) 31-March-2014
And are joined in the jointing tool.
 ( 016 ) 31-March-2014
A look at the seam.
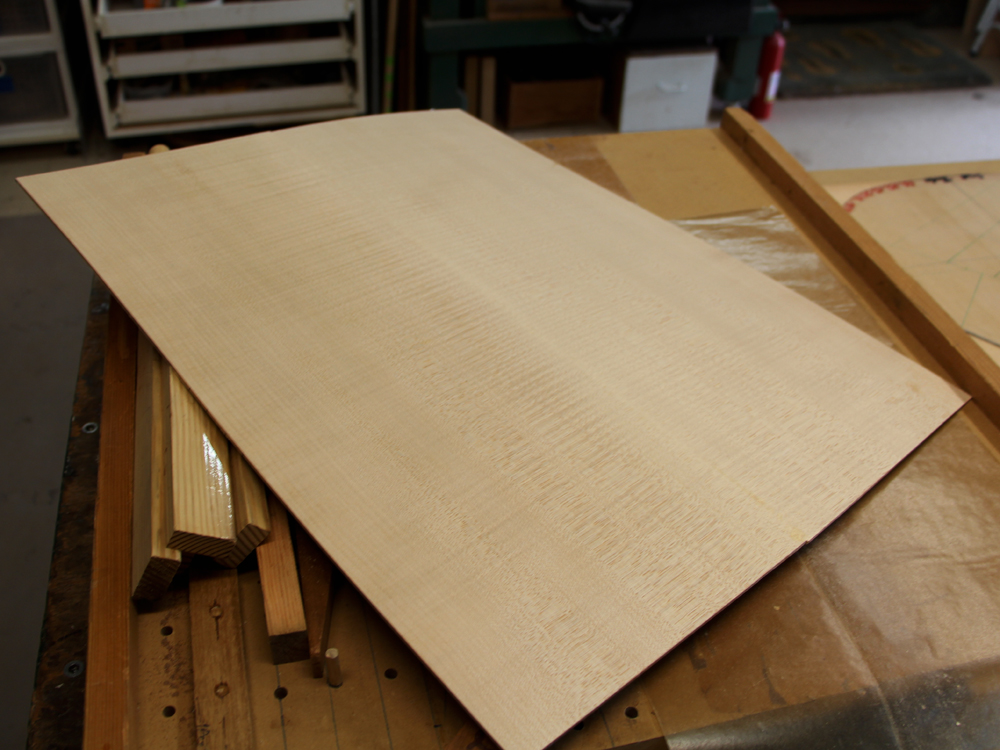 ( 017 ) 31-March-2014
And after the glue has set the back plate comes out of the tool.
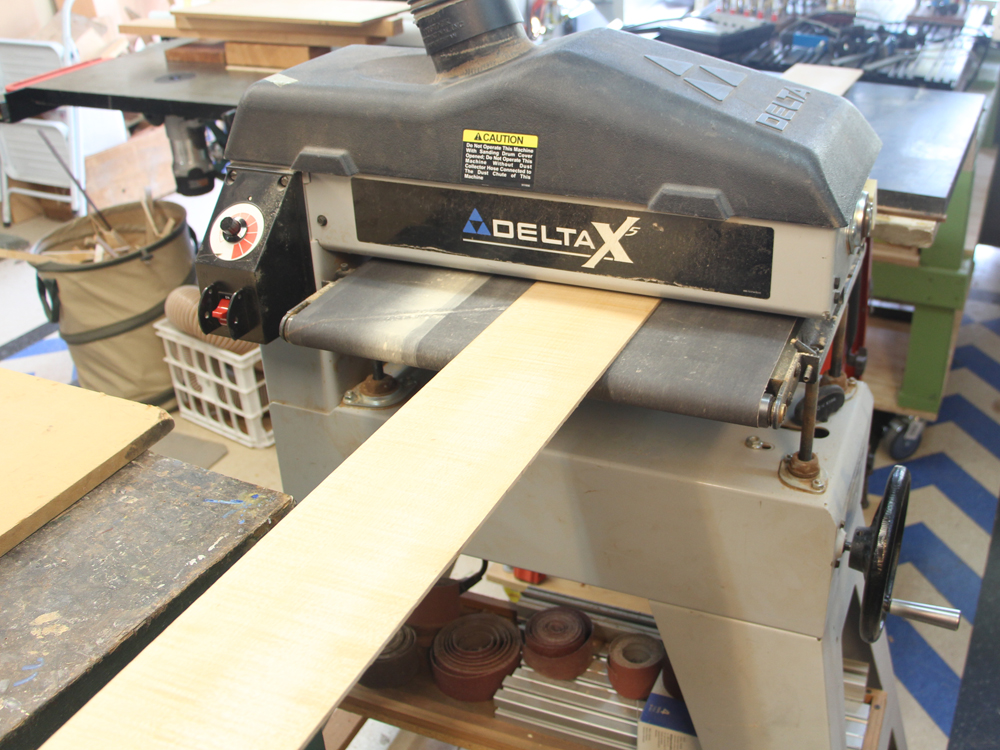 ( 018 ) 31-March-2014
Now the sides are reduced to about 100 mils thick in the drum sander.
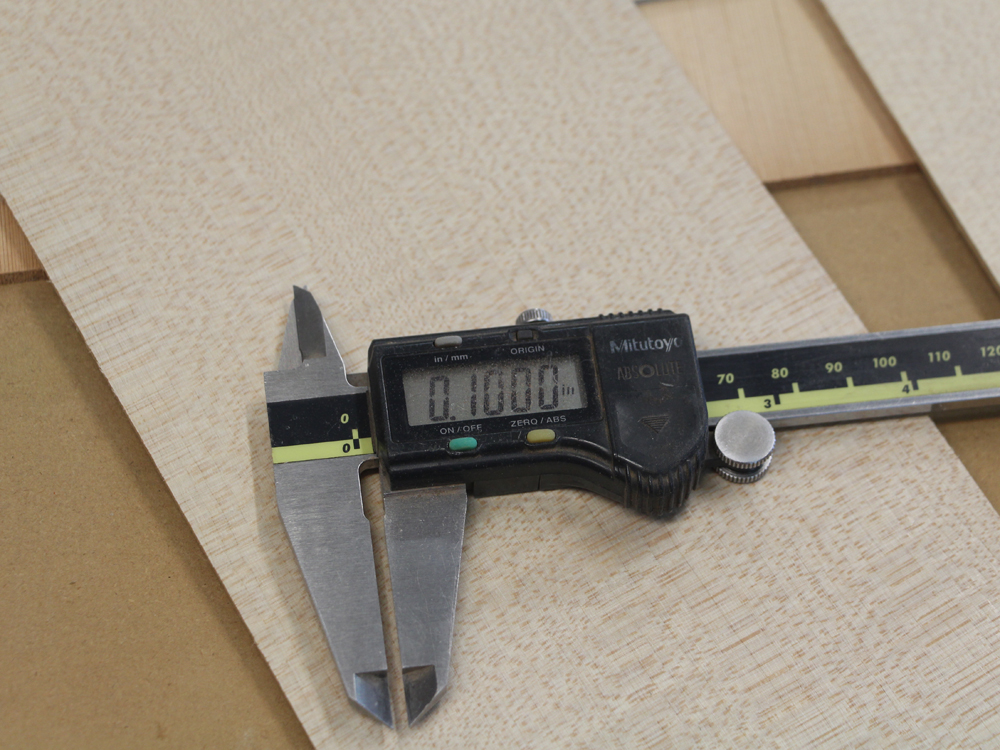 ( 019 ) 31-March-2014
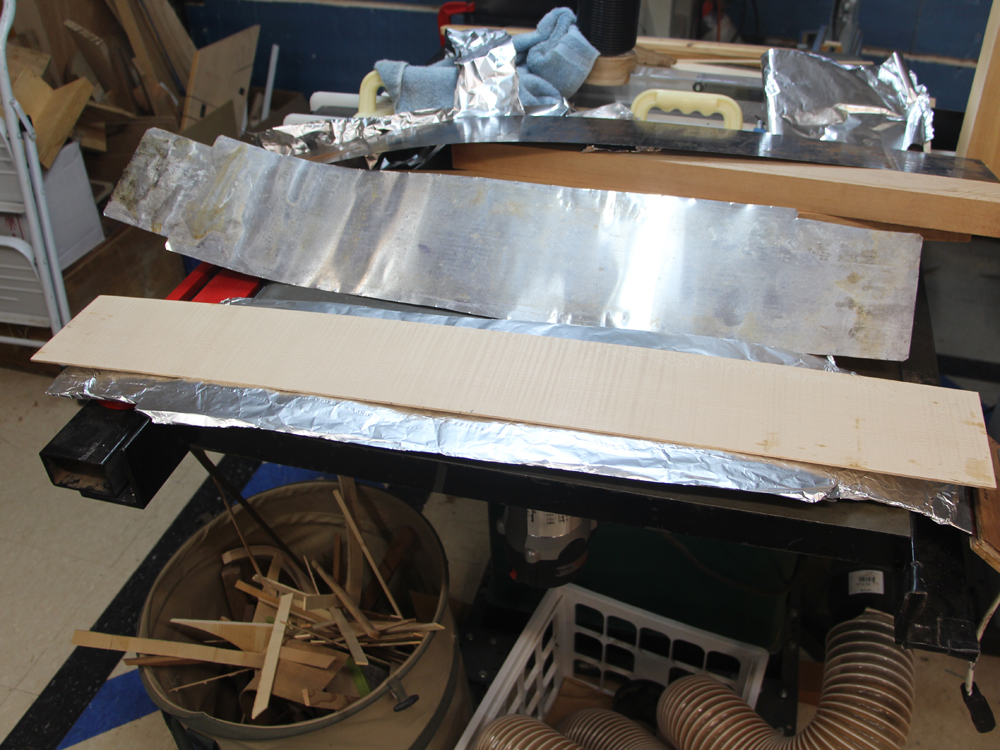 ( 020 ) 31-March-2014
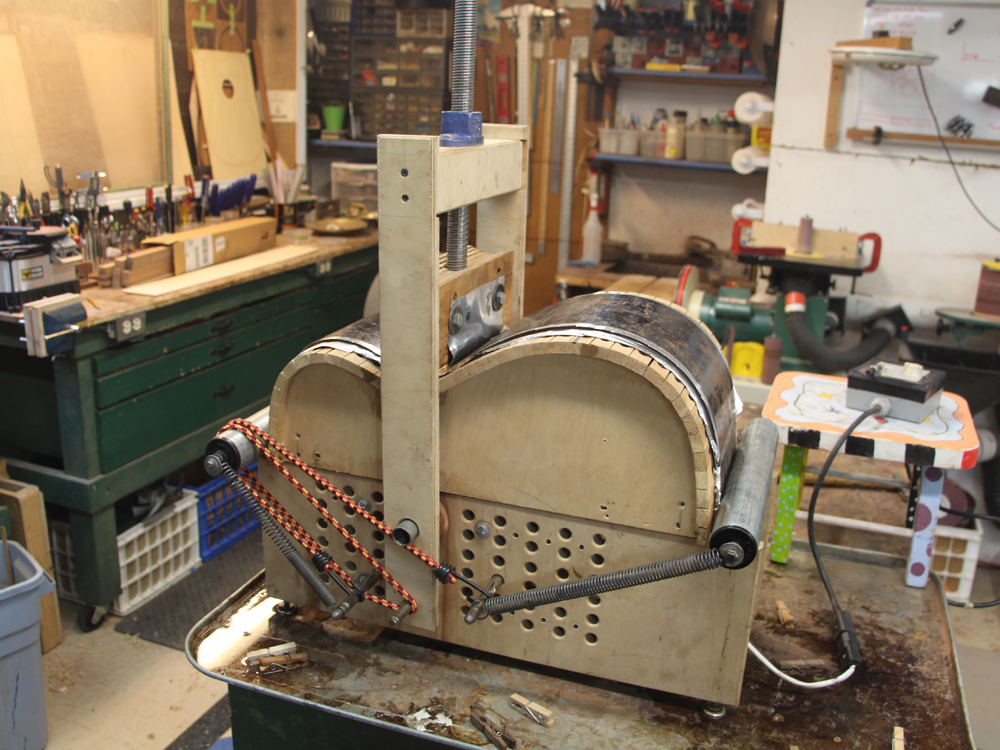
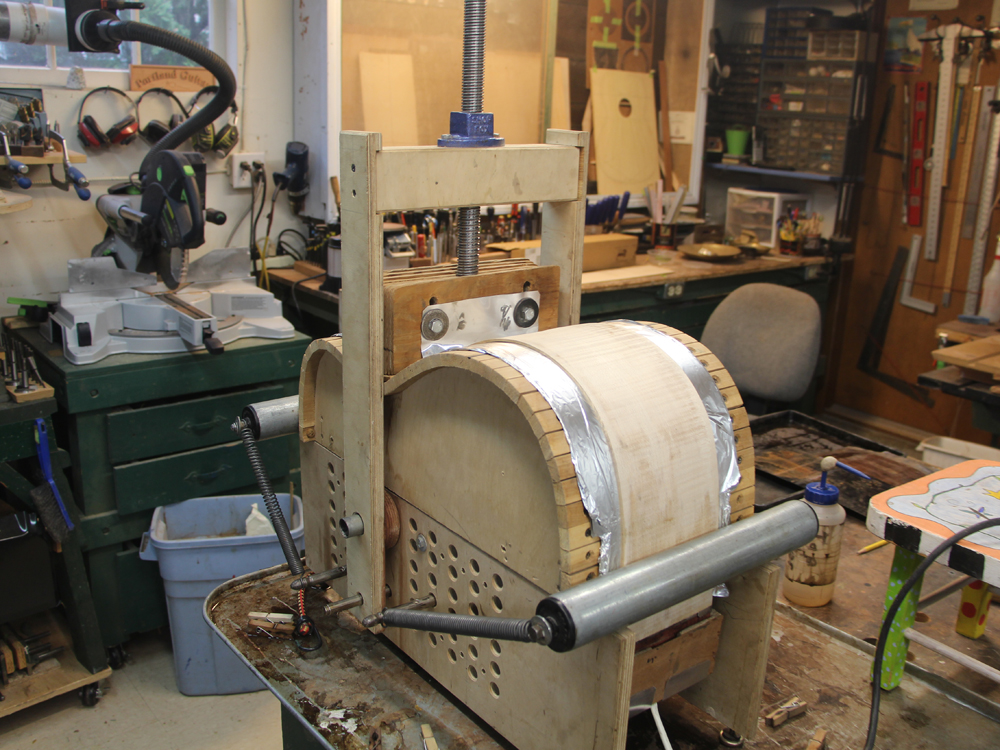
To bend the sides into shape I will heat them up with this heating blanket.
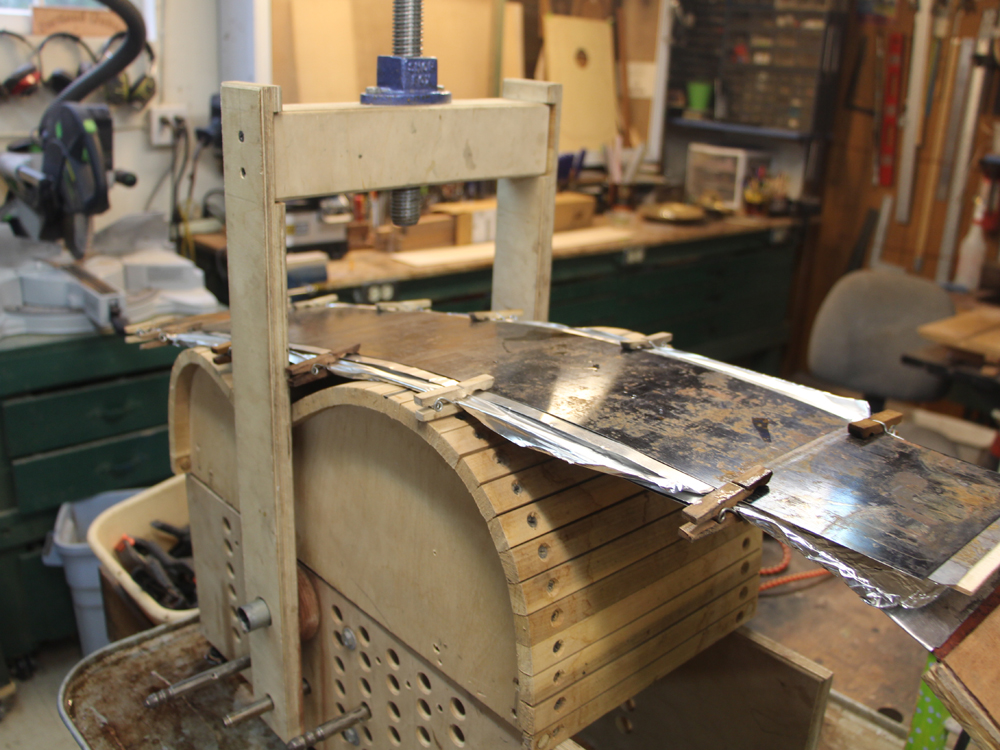 ( 021 ) 31-March-2014
The blanket goes into the bending machine and it heats up.
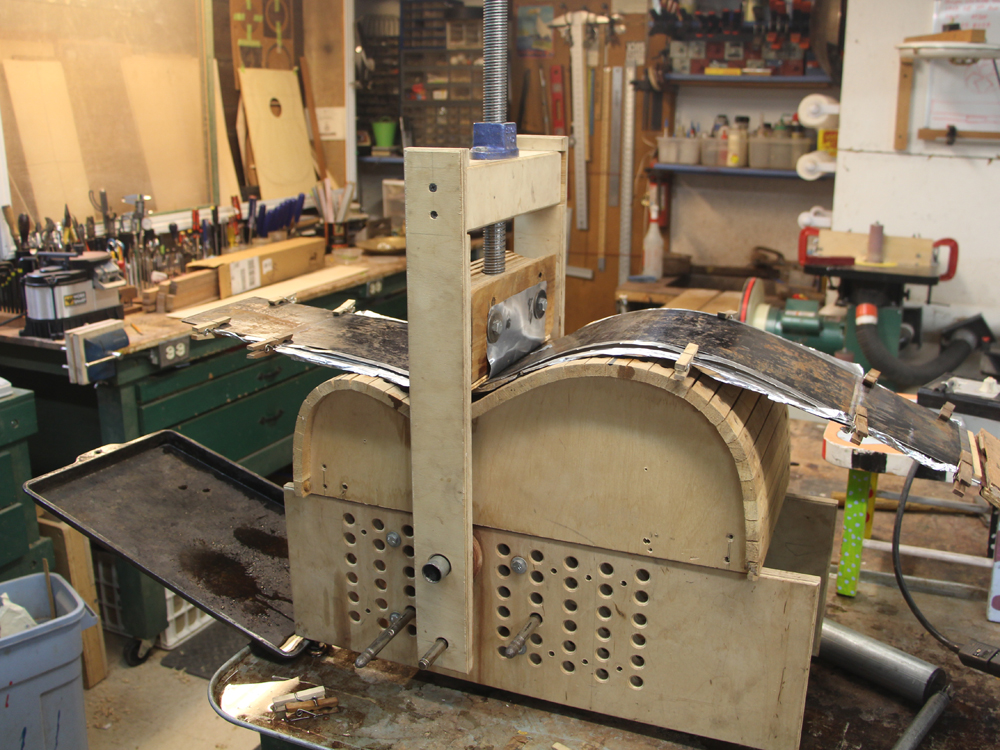 ( 022 ) 31-March-2014
First I press the waist into place.
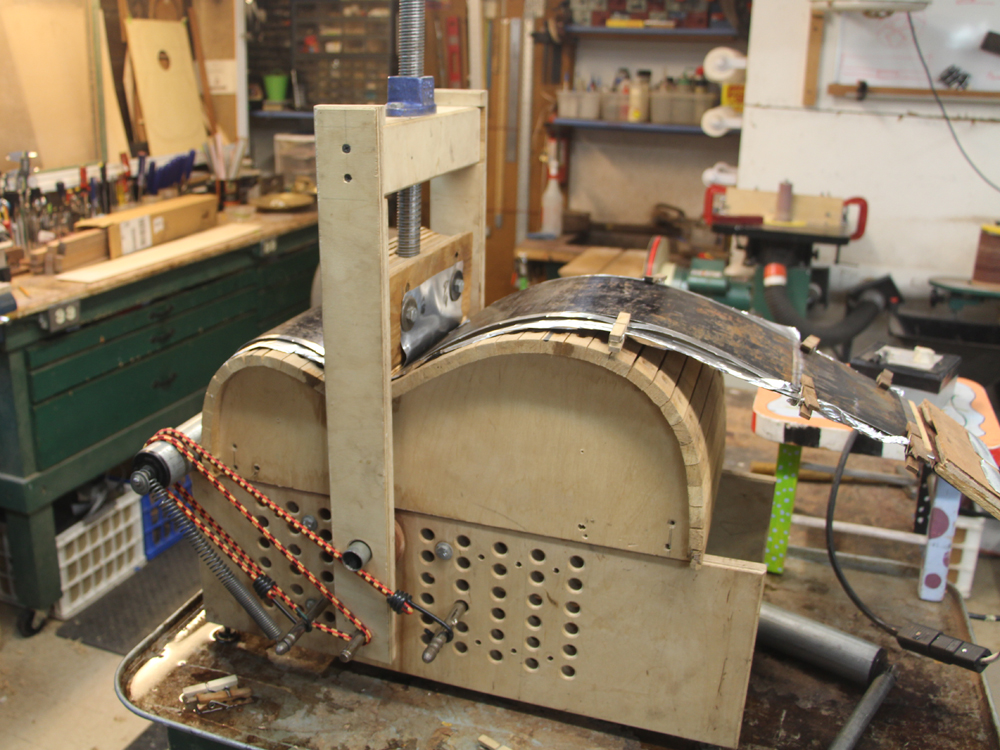 ( 023 ) 31-March-2014
Then I roll the upper bout into place.
 ( 024 ) 31-March-2014
And then the lower bout.
 ( 025 ) 31-March-2014
I let the sides cook for about an hour at a reduces heat to set the shape.
 ( 026 ) 31-March-2014
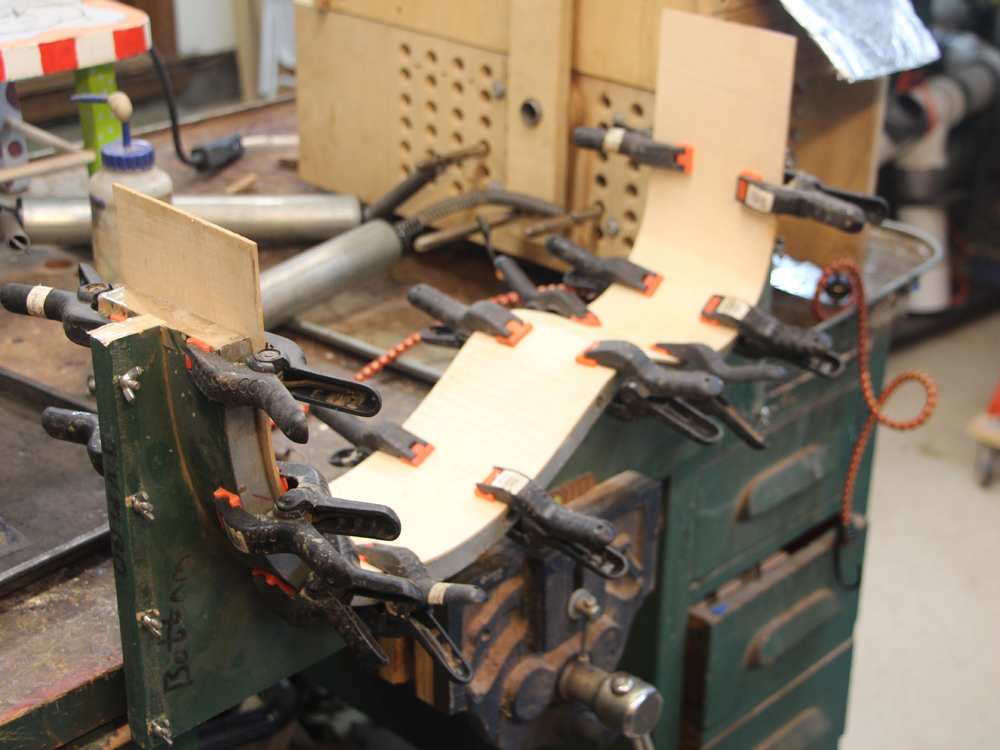
A funny shaped piece of wood.
 ( 027 ) 31-March-2014
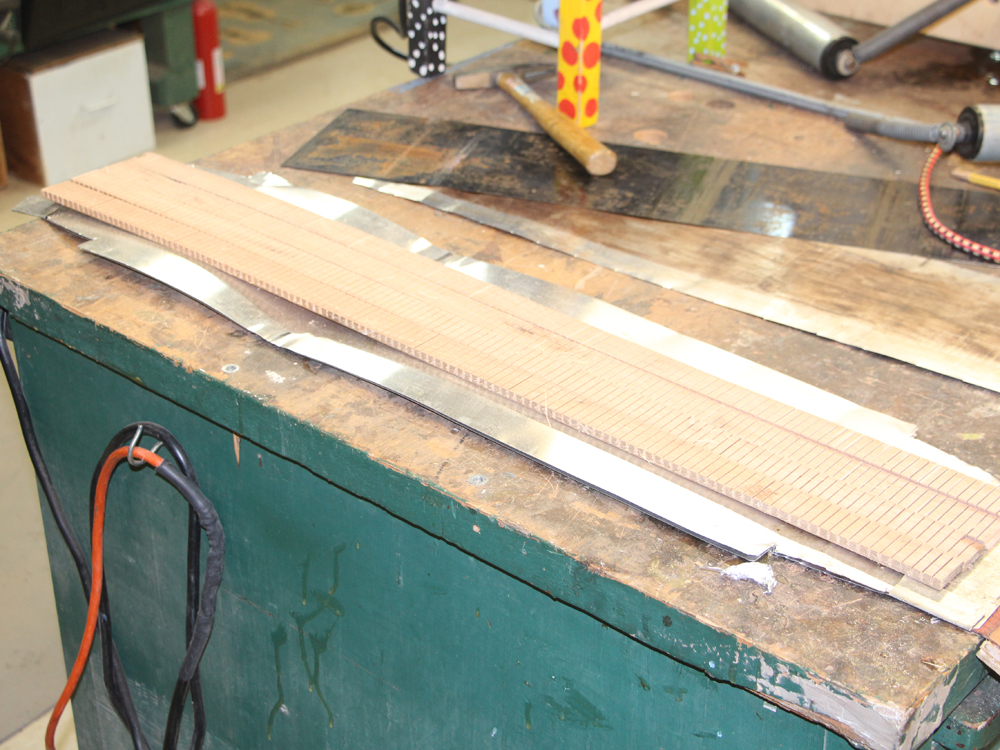
I put it in the side form until I am ready to apply the kerfing. Both halves of the sides get the same treatment.
 ( 028 ) 31-March-2014
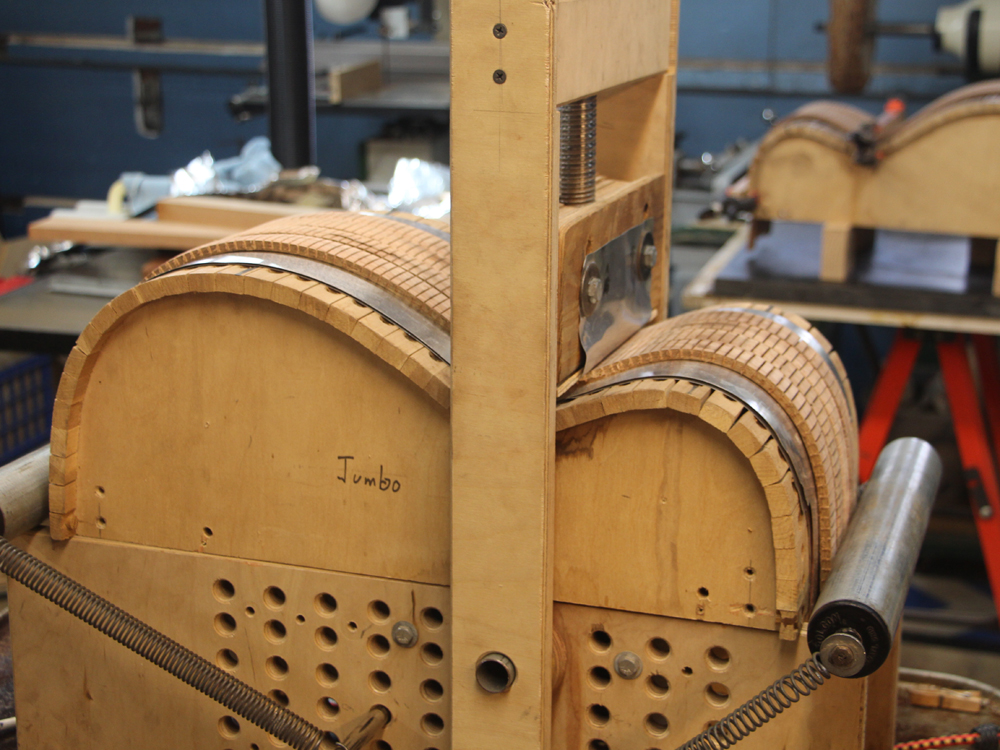
Now I do the same thing to the kerfing. Here I am placing the kerfing in the heating blanket.
 ( 029 ) 31-March-2014
And I use the bending machine to bend them into shape.
 ( 030 ) 31-March-2014
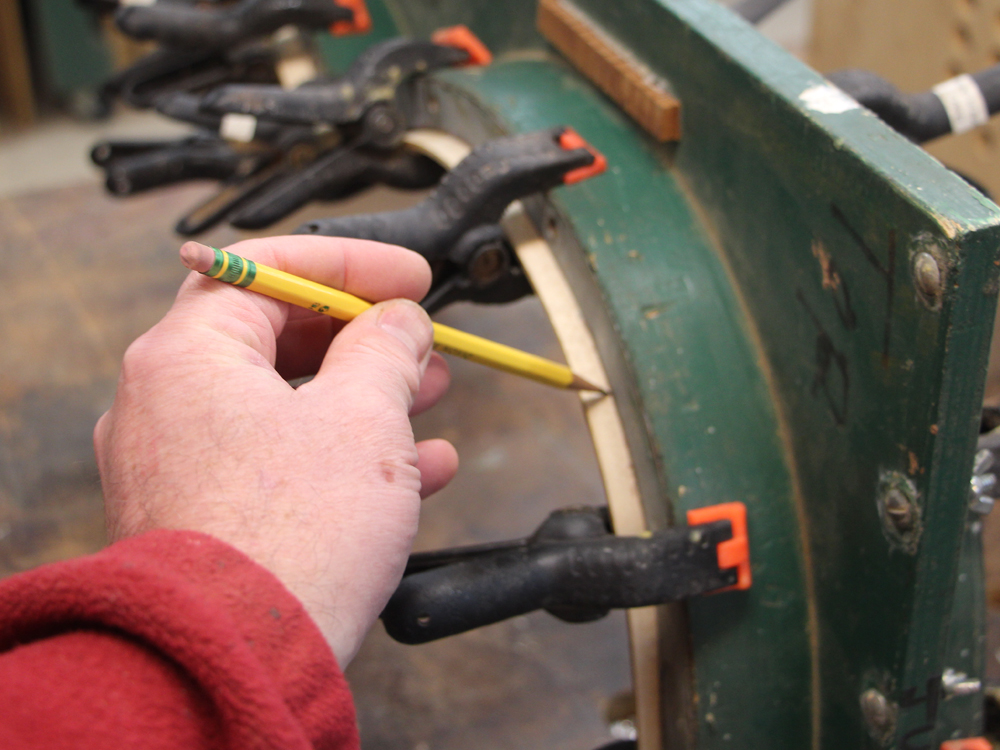
With the side pieces in their forms I draw the outline of the sides on the maple pieces.
 ( 031 ) 31-March-2014
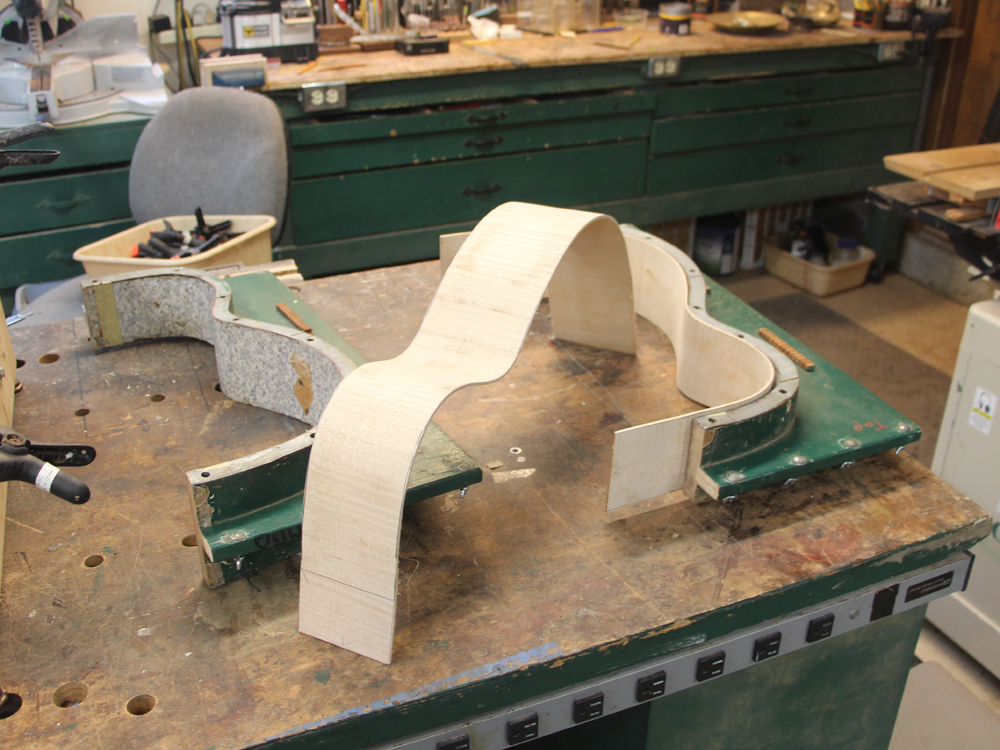
I then use my band saw to trim them to the lines.
 ( 032 ) 31-March-2014
 ( 033 ) 31-March-2014
They go back in the forms getting ready to install the kerfing.
 ( 034 ) 31-March-2014
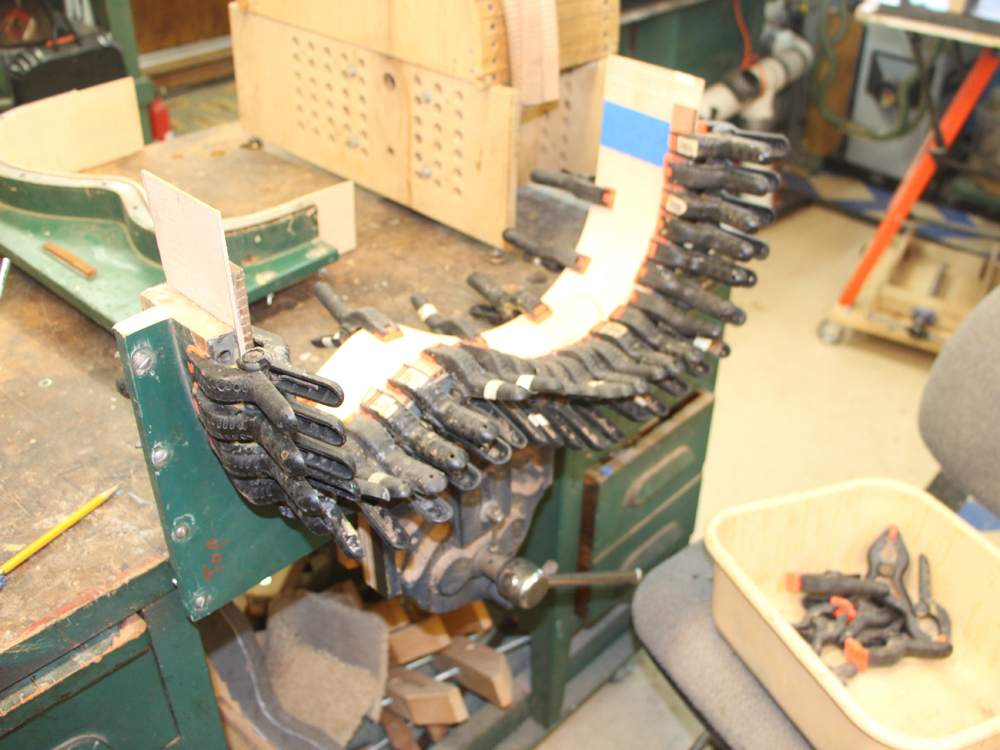
I apply a liberal amount of glue to a piece of the kerfing.
 ( 035 ) 31-March-2014
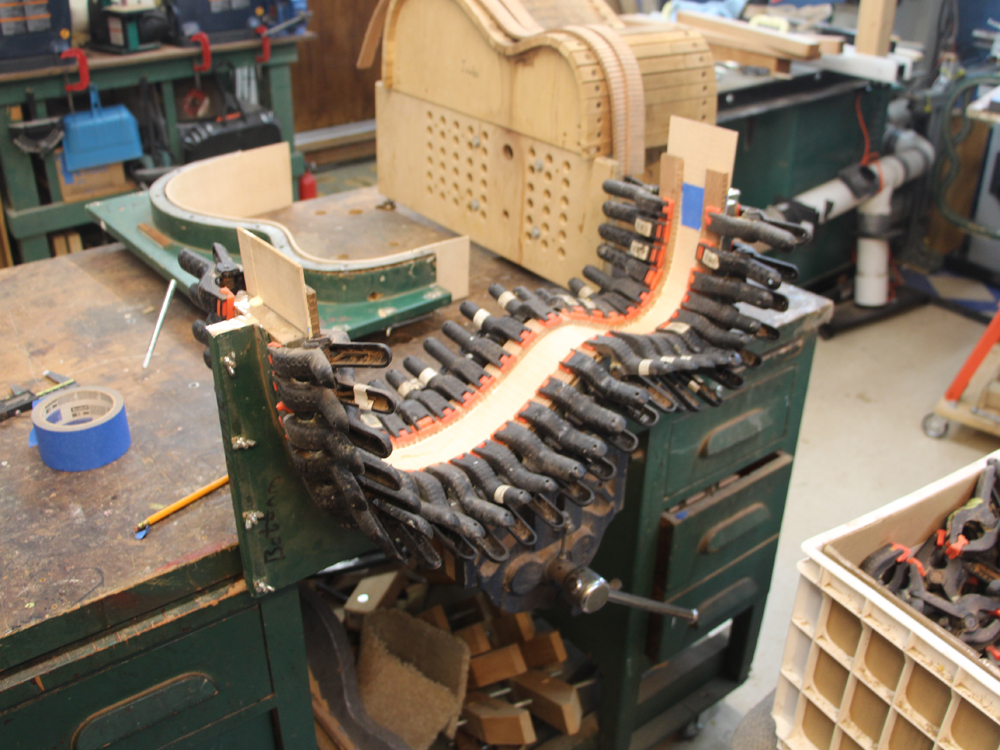
And then press it into place with a set of clamps.
 ( 036 ) 31-March-2014
Lots and lots of clamps. This process presses the side piece firmly into the shape of the form, and the reverse kerfing will hold it there when we are done.
 ( 037 ) 31-March-2014
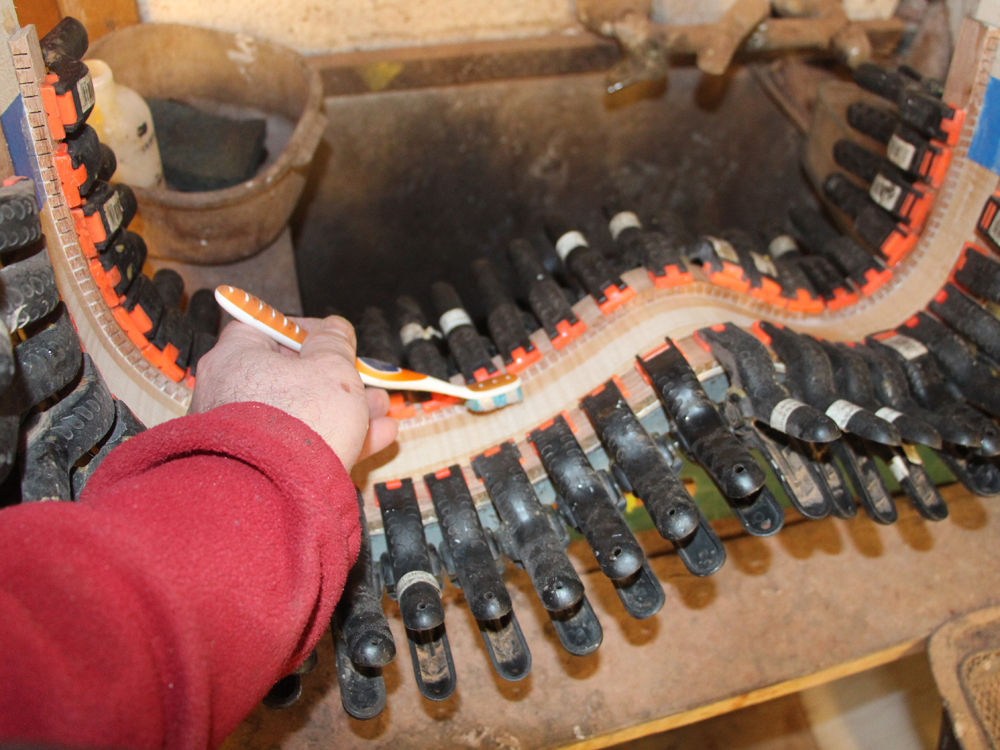
Before the glue sets I clean up the squeeze out.
 ( 038 ) 31-March-2014
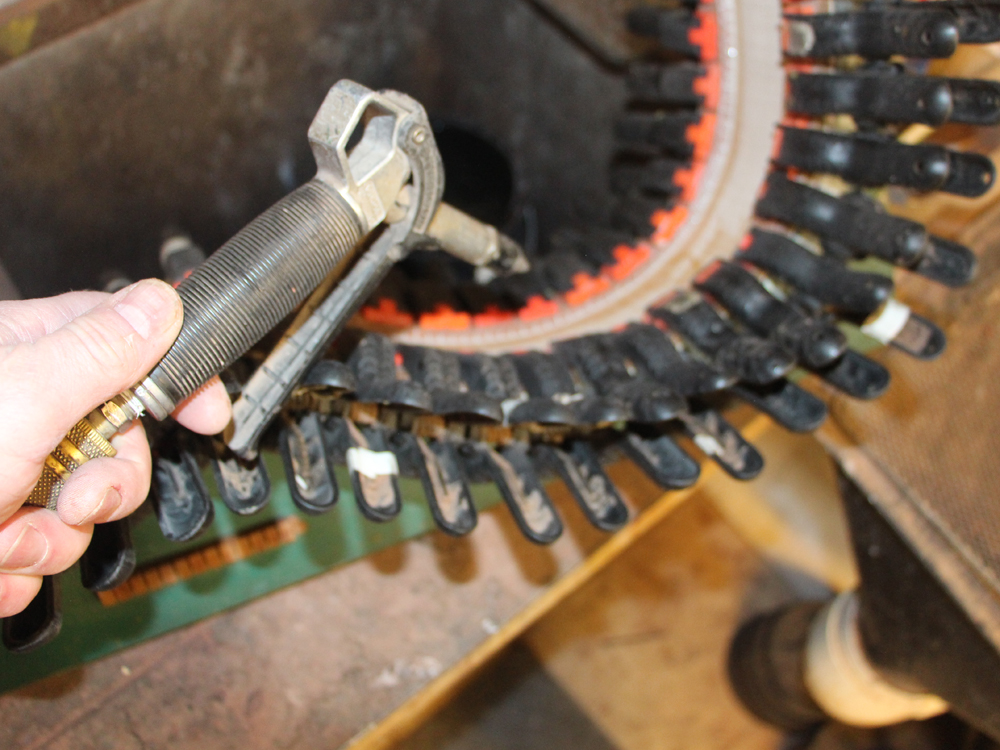
And I use compressed air to clean the glue out of the kerfs.
 ( 039 ) 31-March-2014
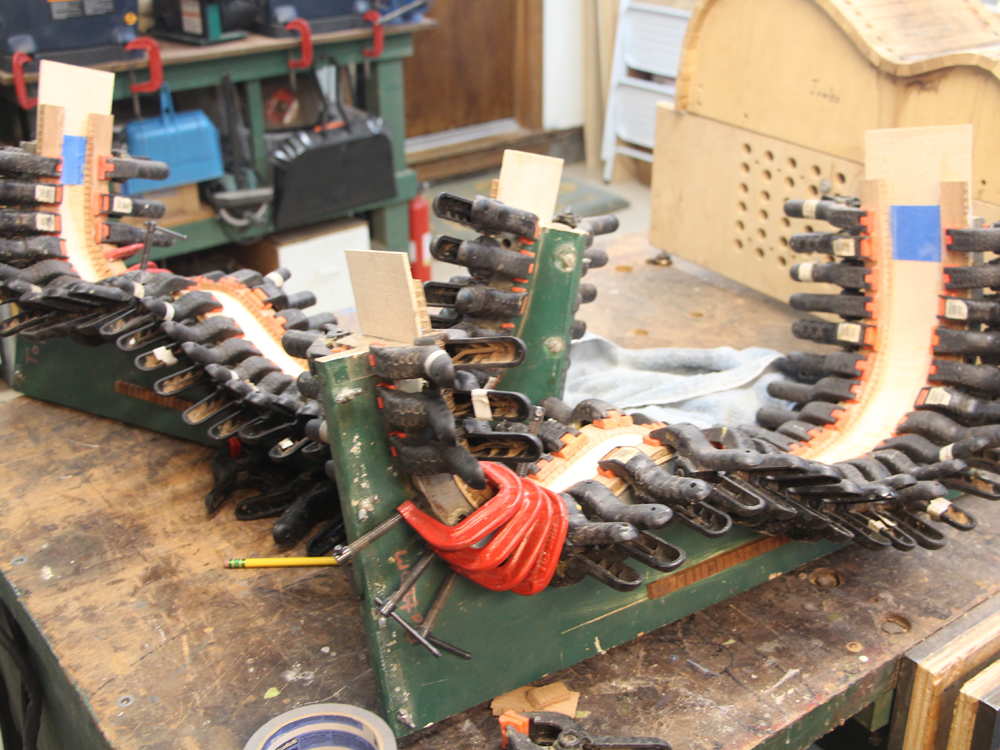
They set up over night.
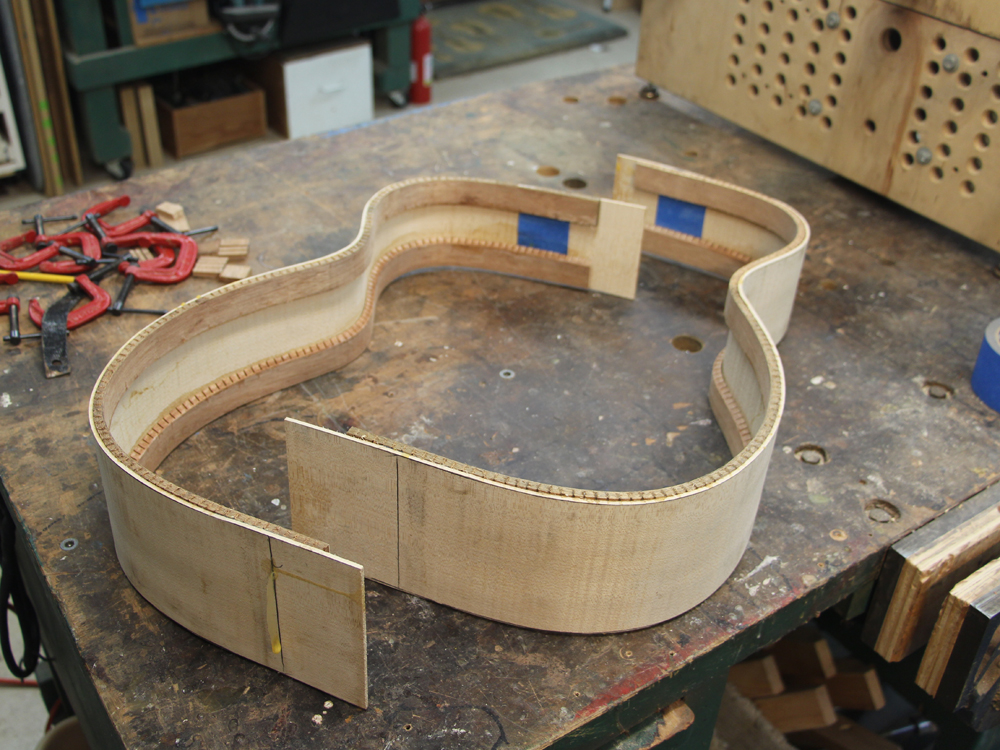 ( 040 ) 31-March-2014
And in the morning the sides are quite ridged due to the reverse kerfing.